
Add your logo and business information to personalize your eCard and give it a branded look with clients and customers.
There are two ways to do this: 1) Upload your business card or 2) create a custom design. Both are easy.
For Examples – Click to Preview


1. Upload Your Business Card
• If you have original artwork (jpg) of your business card simply upload it.
• Specs: The eCard format is 625 pixels wide.
For best results, your artwork should be 575px or less to leave air around the design.
• If it’s larger you can change the size in the editor once uploaded. See the instructions below.
• A standard business card will look huge edge-to-edge at 625px wide.
If you have design skills create something thinner that goes all the way across. Experiment.
2. Create a Custom Design
Logo Basics
• Your logo or photo will look best if it’s a smaller squared image with a maximum width of:
250px – Left Aligned
450px – Centered
• If it’s larger you can reduce it in the Editor after uploading it.
• Your image must have some white space around it or else your text will touch it.
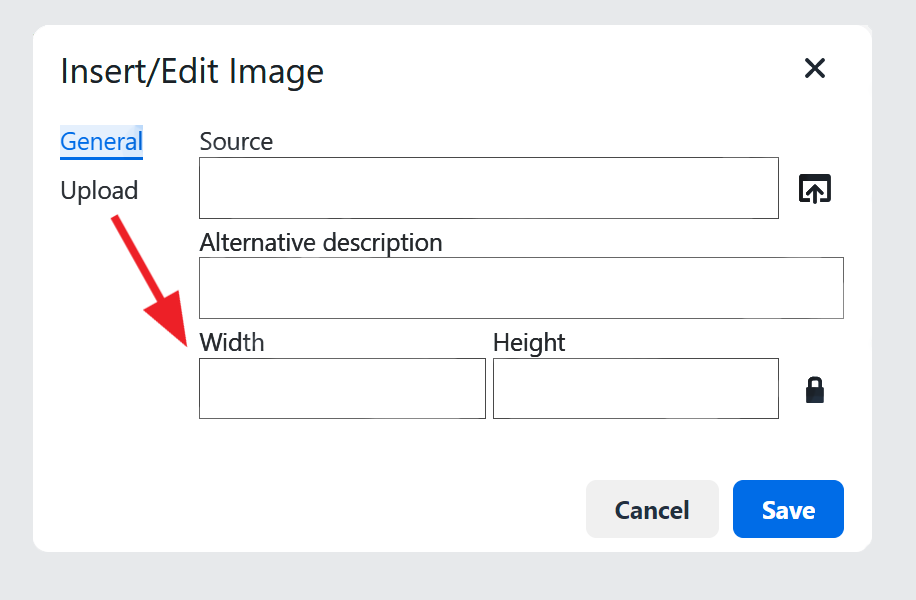
Upload Your Image
In the Editor—below your personal message—Click the Picture Graphic.
The Insert/Edit Image editor will appear. Upload your image. Adjust the size if necessary.

Experiment with the editor’s various features and drop-down menus.
Left Aligned Logo
- Upload your image: Max width 250px. Resize if necessary.
- Click on your logo. Then, Click on Align Left in the Editor Menu.
- Next, Click on the area to the right of your image and type your contact information as in the example below.
- For single-spacing Click Shift-Enter at the end of the sentence. It will create a line break and push the cursor/text to the next line.
This also works in your personal message. For double-spacing hit Return. - When finished, Click the Preview eCard button to see how your eCard will look when it is sent.
- To make changes, Click Return to eCard. Repeat until you’re happy. Then Send.
Examples:
(Your Cartoon eCard appears above this.)
Center Aligned Logo
- Upload your image. Max width 450px. Resize if necessary.
- Click on your logo. Then, Click on Align Center in the Editor Menu.
- Next, Click on the area to the right of your image and type your contact information as in the example below.
- For single-spacing Click Shift-Enter at the end of the sentence. It will create a line break and push the cursor/text to the next line.
This also works in your personal message. For double-spacing hit Return. - When finished, Click the Preview eCard button to see how your eCard will look when it is sent.
- To make changes, Click Return to eCard. Repeat until you’re happy. Then Send.
Helpful Tips
• Want more room to write in a Text Box?
Drag the triangle at the bottom right corner outward/downward.
• Change Font Size:
Highlight your Text & Click Format.
A drop-down menu appears offering this and other options
• For Single-Spacing & Stacking Text.
Click Shift-Enter at the end of a sentence.
It will create a line break and push the cursor/ text to the next line.
For double-spacing hit Return..
• Centering text next to an image/logo (Align Left) .
The first line of text begins at the top of the image’s border.
Shift-Enter will lower the cursor for you to begin your text.

Send Mass Emails Using Gmail – To Customers/Clients/Friends.
- Create an eCard and send it to yourself.
- Copy the eCard. Use the cursor to drag & copy (not Ctrl+alt) or you’ll copy the entire page.
- Click the three vertical dots at the bottom for “More Options.”

7. Name & SAVE your eCard template: “Xmas Ecard”.
8. You have now saved your eCard/Email. You can create several in advance to use for various occasions and customers.
To Send
- Open/Compose a NEW EMAIL. Click the 3 dots and select your template.
- Add your customer list (send as Bcc “Blind Carbon Copy” so they don’t see each other’s email addresses).
- Send your email.